In this article, you will learn about the styling of your subtitles. You will learn how to change the background color, the text color, the font, and the font size!
Get started

Upload video
After logging in, you will see the dashboard or project overview. To upload a new video click on the card in the upper left corner, marked with a plus sign.


Transcription
Wait till the transcription is finished to move onto the next step.

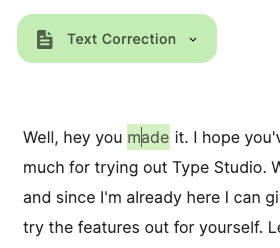
Switch to "text correction" mode
If you want change in the transcribed text, switch to the "text correction" mode. You can switch the mode by clicking on the button right above the transcript on the left.
NOTE: Changing the transcription will affect the subtitles of your video.
Correct, change or add words
To change, correct, or add a word, click on it. To navigate through the text quickly, use your left and right arrow keys. For even faster navigation, click and hold "alt" on a Windows PC or "option" on a Mac to jump wordwise..


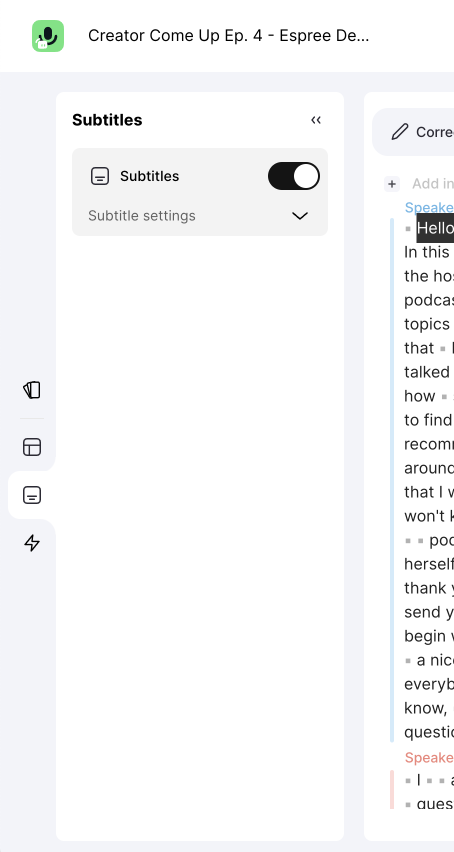
Turn on subtitles

Style the subtitles
You can change the style or translate your subtitles in the context menu.

Subtitle type
In the top row, you can change the subtitle style. There are three different subtitle styles:
- don't show subtitles
- Subtitles static
- Subtitles dynamic - word by word.

Static subtitles


Dynamic subtitles


Translate your subtitles
To translate your subtitles, choose one of the languages and click the translate button.

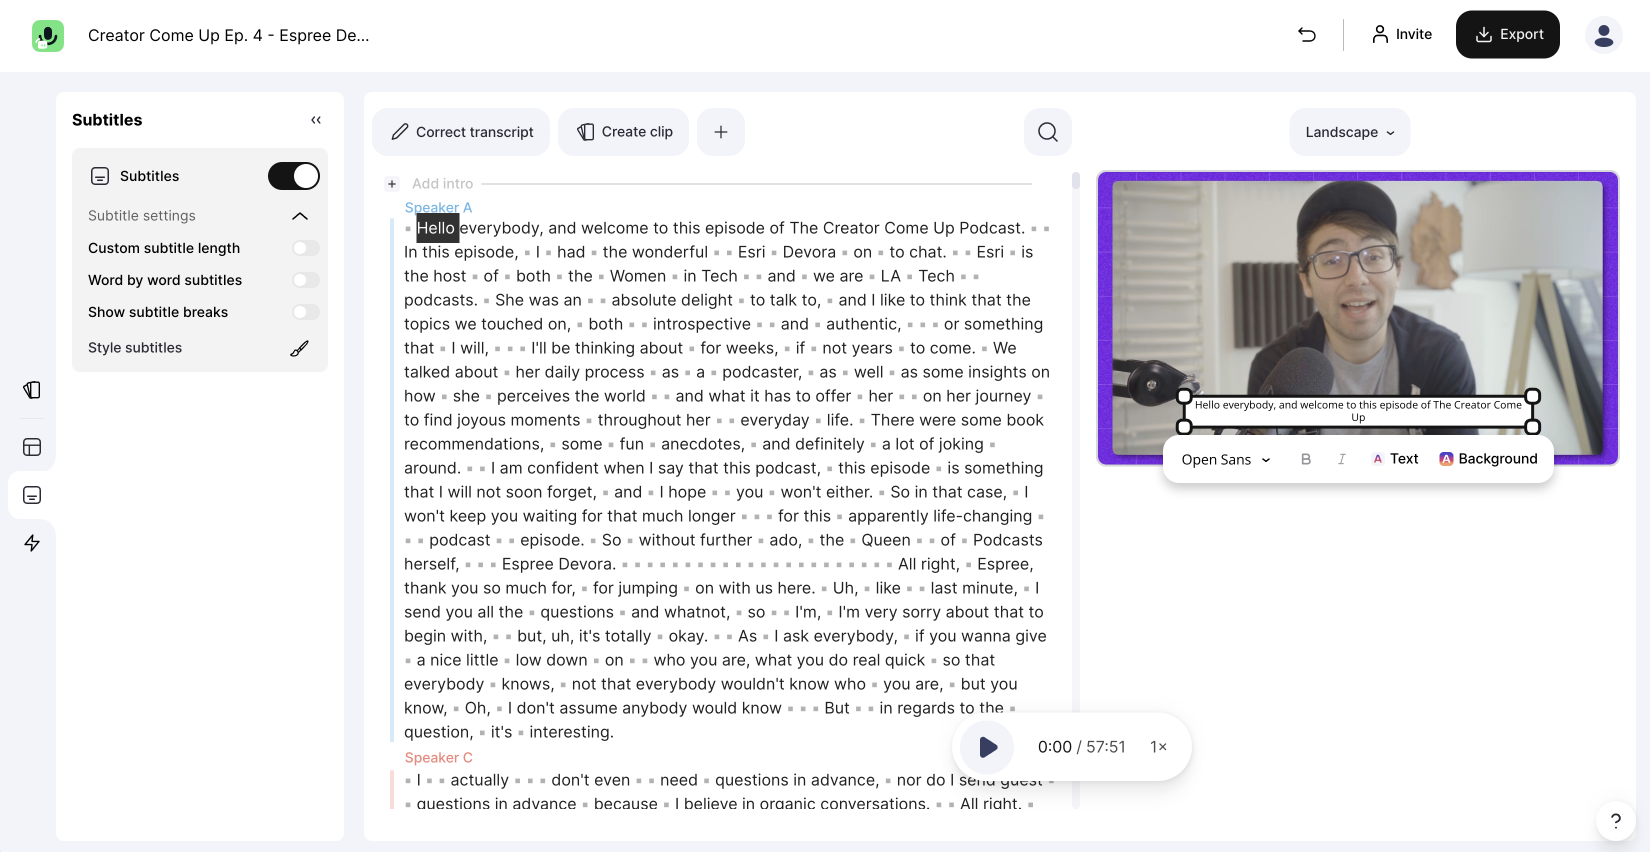
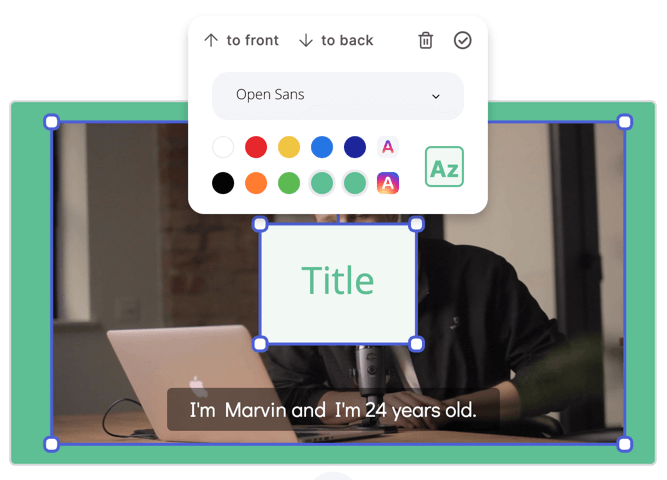
Subtitles styling
To style your subtitles, click on them in your video. If you can't see them, make sure that you activated the subtitles in the top header bar and that at the current position is spoken text inside of your video.

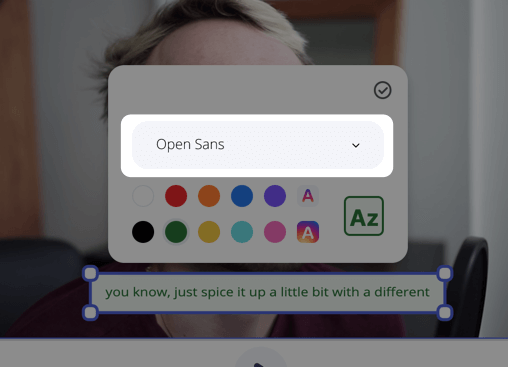
Best fonts for subtitles
Choose one of the fonts that best match your brand to style the text you want to add to your video.
Fonts to use for subtitles:
- Open Sans, Epilogue, Roboto, and Montserrat are perfect for everyday use cases.
- Libre Baskerville and Playfair Display are for serious purposes.
- Bangers is perfect to make it pop.
Fonts like Lobster or Courier are very playful but can be hard to read, especially when the subtitles change too fast. That's why we don't recommend these fonts for subtitles.
To define the size, simply grab one of the corner points and drag them.

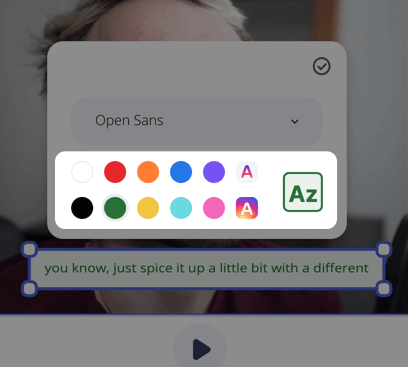
Choose the perfect subtitle color
After choosing a font for your subtitles, you should pick a fitting color for the text on your video. The easiest way is to choose one color from the presets.
A short course in color psychology:
- Black / White: Neutral and professional.
- Red: Attracts a lot of attention and could have a warning effect
- Yellow: Yellow appears bright, cheerful, friendly, optimistic, and open.
- Blue: It is said to have an emotionally balancing, calming, and moderating effect. Blue also looks sporty, technical, and dynamic.
- Orange: Stands for light and warmth, and security.
- Green: Stands for nature, health, satisfaction, happiness, and hope.
NOTE: When you add text to your video, play through it to ensure the text is readable and the contrast is strong enough.

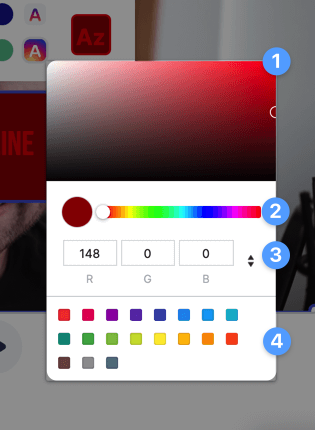
Custom subtitle color
Along with the available color presets, you can also select custom colors for the text and background. For example, if you would like to add text of a custom style to match your branding.
Add custom colors to your subtitles:
- Move the circle to change the saturation.
- Pick the color you want.
- If you want to add custom color codes, you can add them here. Hit the arrows to toggle the input mode.
- Preset colors provided by the browser
Move subtitles
To move your subtitles, click on the text, hold it, and drag them on your video. Below are a few tips on where you should place your subtitles.
Where to place your subtitles:
- Check the layouts of the platforms you are uploading to and where their account/navigation tools are.
- Watch videos with subtitles. Where are the subtitles' locations that are easiest for you to watch? Does it make sense for the type of content you plan on creating to place it in the same areas?
- The user can decide if the captions are shown if the platform supports closed captioning with SRT files. Check out our guide to SRT files here.
NOTE: When you add transparent subtitles to your video, you should always check that the text is readable and the contrast is strong enough.
Export video with subtitles
To get burned in subtitles, hit the export button in the top left corner of your video. After clicking it the rendering will start.
Rendering
To get burned in subtitles, hit the export button in the top left corner of your video. After clicking it the rendering will start.
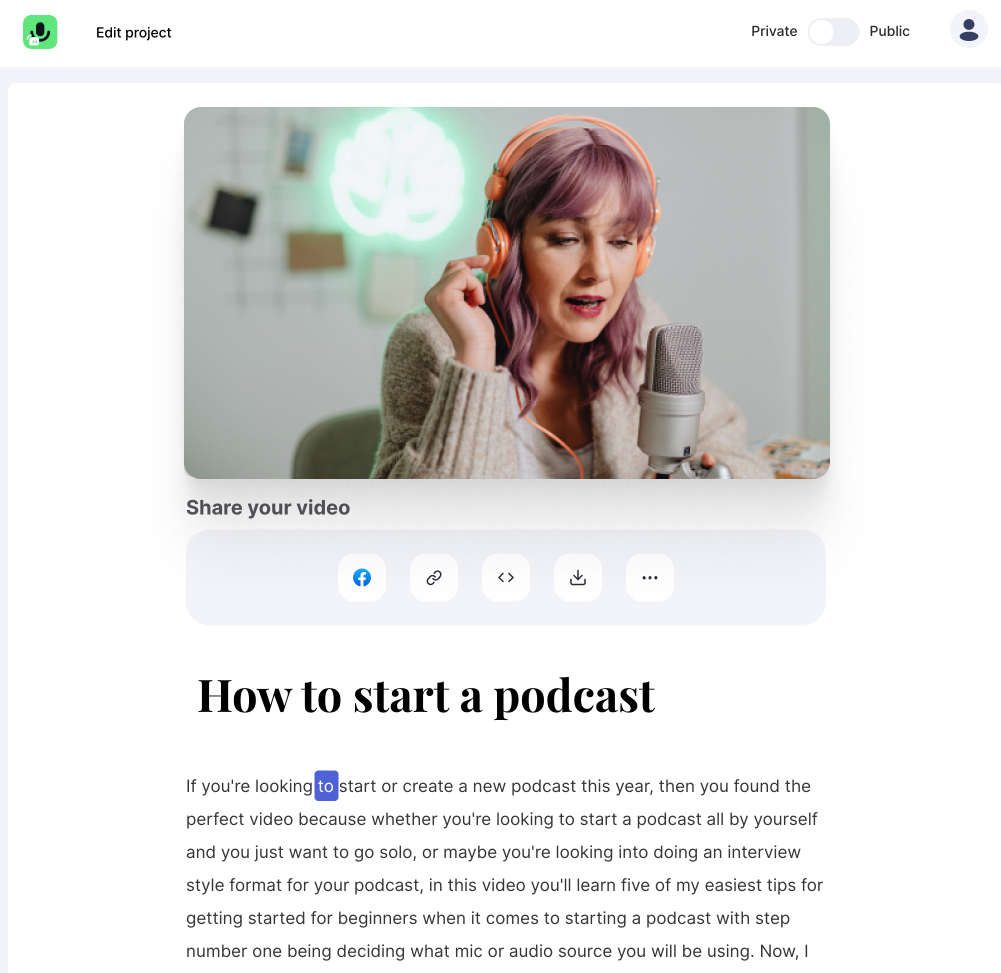
Download video
To download your video, click the link in the email sent to you indicating that the rendering is complete. After clicking the link, your sharing page will open in your browser. On this page, click download.
If you want to share your video with your friends or colleagues, click "copy link" and share the link to the sharing page.
You can learn more about using the sharing page to distribute your videos here.